7 Steps to Replace a Water Bottle Gasket Correctly
Last Updated: November 4, 2026
Quick Summary
Replace a water bottle gasket when you notice drips, a lasting sour smell, cracks, or mold spots. Measure the groove before buying, since the inner diameter and cross-section must both match, then run a leak test after installing.
Replace the gasket if you see drips, a musty smell, cracks, or black or pink spots.
Measure the groove's inner diameter and the ring's cross-section, not the old stretched gasket.
Silicone handles hot water and dishwasher cycles better than rubber for daily use.
Check that the gasket sits flat with no twists before reattaching the lid.
Run a leak test by filling the bottle and inverting it over a sink for 60 seconds.
Table of Contents
Signs Your Water Bottle Gasket Needs Replacing
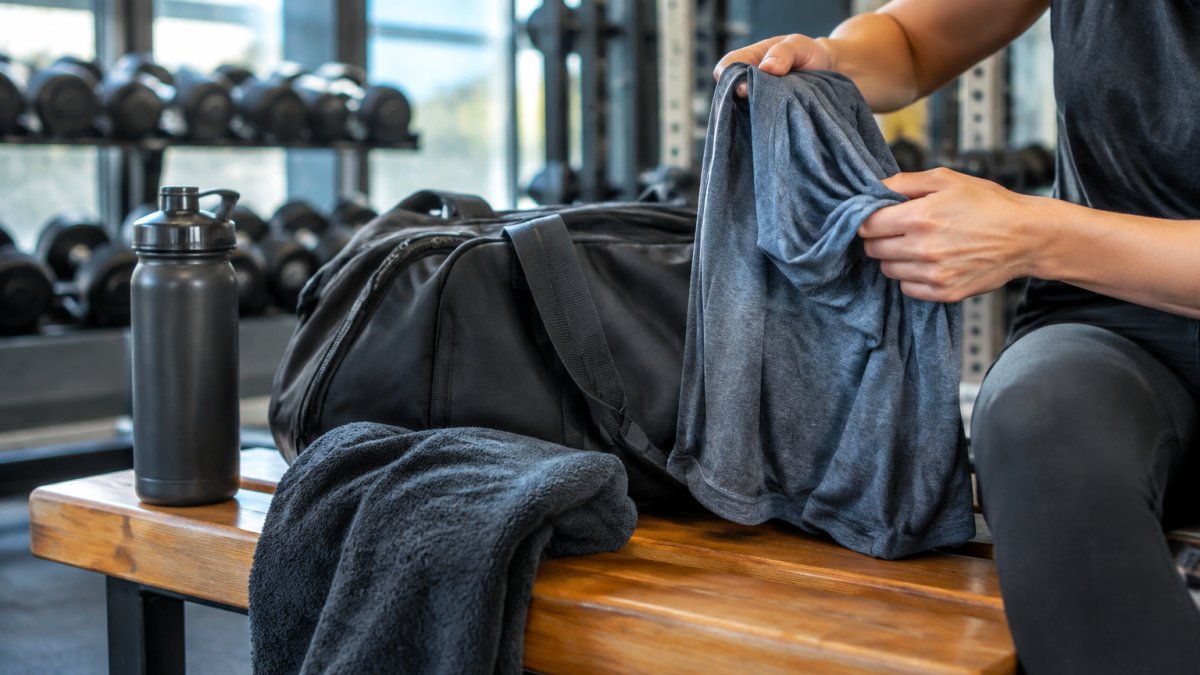
Most people only notice a worn gasket after a leak. By then, the damage is often already in the gym bag. Learn the warning signs early and you can swap the seal before it ruins your gear. Our guide to preventing gear contamination explains how to keep the bottle in good shape.
The gasket is the silicone or rubber ring that seals the lid to the bottle. When it wears out, the bottle stops sealing well.
Watch for these signs:
Water drips from the lid when the bottle is tipped or squeezed
A sour or musty smell stays even after washing
Cracks, flat spots, or a stiff, dried-out feel on the ring
Black or pink spots that look like mold or mildew
The lid feels loose or no longer snaps into place
Gaskets wear faster with daily use, hot water, and frequent cleaning. Check yours every few weeks, especially if the bottle lives in a gym bag.
Watch out: If you see black spots, do not just wipe them off. Mold can sit deep in the seal, so replace the gasket.
Identifying the Right Gasket Size and Material
Buying the wrong gasket is the most common reason a replacement fails. Measure before you order anything, and understand what the seal is made of before you choose a material.
Universal vs. Proprietary Sizing
Some gaskets fit many bottles. Others only fit one brand's lid.
Universal gaskets come in standard diameters and fit a range of bottles. They are cheaper and easier to find.
Proprietary gaskets are shaped for one specific lid design. They fit better but cost more and may be harder to source.
Most guides assume you own a branded bottle with a published parts list. If your bottle is unbranded, a promotional giveaway, or a discontinued model, you have to measure the gasket yourself. Use this method:
Measure the groove, not the old gasket. A stretched or compressed gasket gives a false reading. Use digital calipers or a ruler to measure the inner diameter of the channel where the gasket seats, then measure the channel depth.
Measure the cross-section. The thickness of the ring (its cross-section) matters as much as the diameter. A 2 mm ring in a 3 mm groove will not seal. Note the old gasket's cross-section before you discard it.
Record both numbers. Listings usually quote inner diameter × cross-section (for example, 45 mm × 3 mm). Match both figures, not just the diameter.
Check the profile. Some gaskets are flat rings; others are O-rings or have a lip. A flat ring will not seat in a groove cut for an O-ring, even at the same diameter.
If you are unsure, bring the old gasket to the store or match it to the photo. A common pattern is to order two sizes when the measurement falls between standard options, then return the one that does not seat flat.
Silicone vs. Rubber: Which Seal Holds Up Better
Both materials work, but they degrade for different reasons. Understanding the mechanism helps you pick the right replacement for how you actually use the bottle.
Material | Strengths | Weaknesses | Best For |
Food-grade silicone | Flexible across a wide temperature range, resists odor, handles hot water and dishwasher cycles | Costs slightly more; can absorb oils from flavored drinks over time | Daily use and hot drinks |
Rubber (natural or EPDM) | Firm seal, low cost, good rebound | Can smell over time, cracks sooner, hardens with repeated hot-water exposure | Cold drinks, budget swaps |
Silicone is a common choice for gym use because it stays flexible across a wide temperature range. Rubber can work for cold water if you replace it on schedule.
Watch out: Avoid gaskets sold as 'rubber' without a food-contact specification, since unlabeled material gives you no way to check temperature limits.
Tools and Preparation for the Swap
You do not need special tools. Gather these before you start:
A replacement gasket that matches your bottle's size
A blunt tool, such as a plastic pick or a dull butter knife
Warm soapy water and a soft brush
A clean towel
A small bowl of white vinegar for deep cleaning
Lay everything out on a clean counter. Working on a dry towel keeps small parts from rolling away.
Step-by-Step: Removing the Old Gasket and Cleaning the Lid
Follow these steps to take the old seal out cleanly.

Empty and rinse the bottle. Make sure no liquid is left inside.
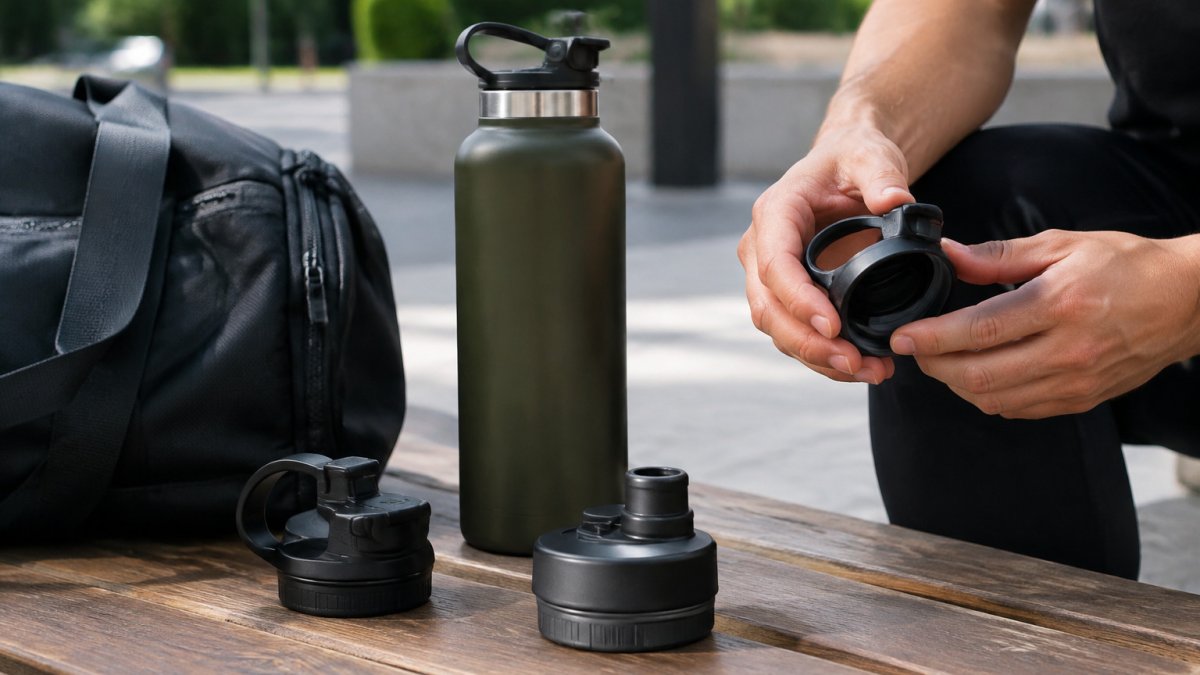
Pop the gasket out. Slide a blunt tool under one edge and lift gently. Work around the ring until it comes free. Avoid sharp tools, which can nick the lid.
Soak the lid parts. Put the gasket, lid, and any straw parts in warm soapy water for about 10 minutes.
Scrub the groove. Use a soft brush to clean the channel where the gasket sits. Black residue here is a common source of odor.
Sanitize. Wipe the lid parts with white vinegar, then rinse well and let them air dry completely.
Watch out: Never reuse a gasket that came off with mold or a strong smell. Clean the lid thoroughly, but throw away the old seal.
Installing the New Gasket and Testing for Leaks
Installation is simple, but seating the gasket correctly matters.
Check the orientation. Most gaskets have a smooth side and a textured side. Confirm which side faces the lid.
Press the gasket into the groove. Start at one point and work around the full circle. Use your thumbs, not a tool, to avoid tearing it.
Make sure it sits flat. There should be no twists, bulges, or gaps.
Reattach the lid. Snap or screw it on until it seats firmly.
Run a leak test. Fill the bottle with water, close the lid, and turn it upside down over a sink or paper towel for 60 seconds. Shake it gently. No drips means a good seal.
Repeat the test once more after a few hours to make sure the seal has settled.
Troubleshooting Installation Failures and Keeping Your Bottle Leak-Free in the Gym Bag
Sometimes the new gasket still leaks. Most guides stop at 'reseat it,' but the failure usually has a specific cause you can diagnose in order. Work through these checks from most to least likely.
1. The gasket is twisted or half-seated. This is the most common failure. The ring looks flat from above but has rolled under itself at one point.
2. The gasket will not sit flat. A ring that pops out of the groove is usually the wrong cross-section, not the wrong diameter. A gasket that is too thick will not compress into the channel; one that is too thin will slide out when the lid is tightened. Compare the cross-section to the old ring before forcing it.
3. The lid will not screw on after replacement. If the lid binds before it seats, the gasket is sitting proud of the groove or is the wrong profile. A flat ring in an O-ring groove, or the reverse, adds height the threads cannot take up.
4. The size is slightly off. A gasket that is too loose will not seal. Check your measurements against the old ring, and remember that a stretched old gasket reads larger than the groove it came from.
5. Debris is trapped under the seal. Pull the gasket and rinse the groove. A grain of grit or a dried film of drink residue is enough to break the seal at one point.
6. The lid is cracked or warped. No gasket will fix this. Replace the lid. Hairline cracks around the threads are easy to miss and will leak no matter how well the gasket seats.
After any fix, repeat the leak test: fill the bottle, close the lid, and turn it upside down over a sink for 60 seconds. Test again after a few hours, because a gasket that is slightly off can seal cold and fail once the bottle warms up.
To keep leaks away in your bag, store the bottle upright and make sure the lid is fully closed before you pack it. A quick test before each session saves a lot of cleanup. For more packing tips, read how to prevent leaking water bottles in your bag.
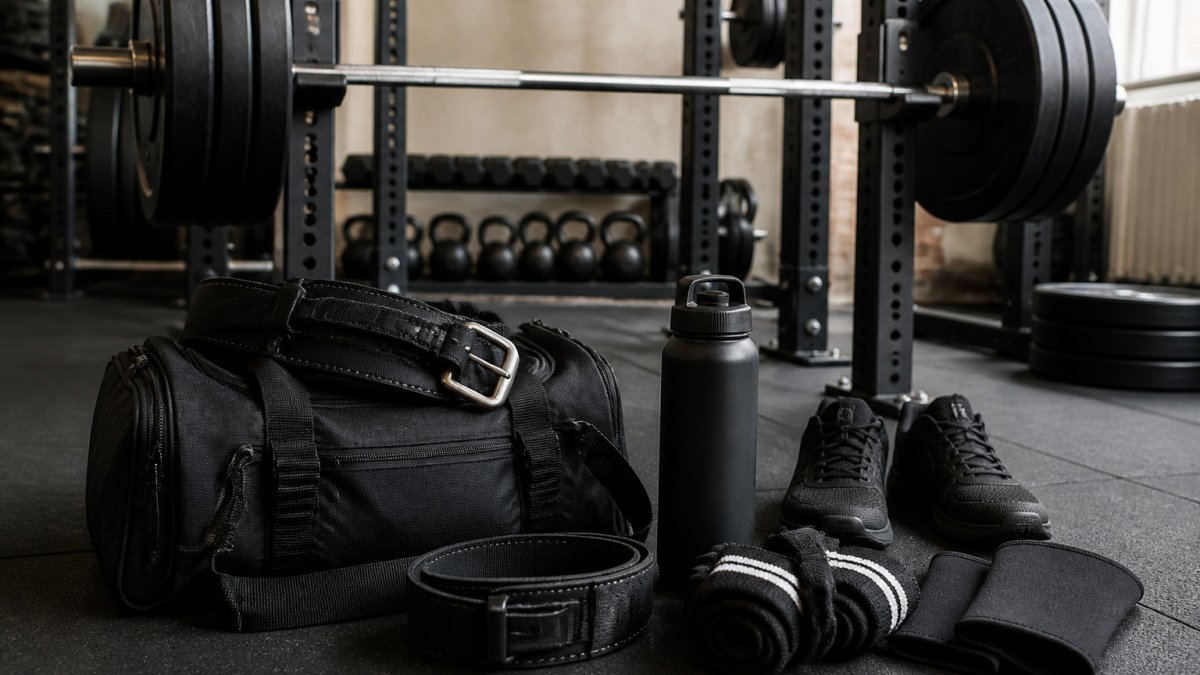
If you carry powerlifting gear too, a bag with a separate compartment helps keep a bottle away from shoes and clothes. Our guide to the best gym bag for powerlifting gear covers capacity and packing setups that suit heavy kit.
Getting Your Bottle Back in Rotation This Week
Your bottle is ready to go again once the seal holds in the leak test. Plan a quick weekly check so the next gasket problem never catches you mid-session.
A reliable flask also makes a difference during training. The SnapFlask keeps a steady hold on your phone while you record your lifts. For more compact options that fit gym and running sessions, see our roundup of the 9 best compact training bags for gym and running.
Quick Summary: Replace the gasket when you see drips, odor, cracks, or mold. Measure the groove before you buy, choose silicone for daily use, and always run a leak test after installing.
FAQ
How often should I replace a water bottle gasket?
Replace it every 6 to 12 months with regular use, or sooner if you notice leaks, odor, or cracks. Gaskets wear faster when they are cleaned often in hot water.
Can I use any gasket on my water bottle?
Not always. Check the inner diameter of the groove first and match it to the size chart.
Why does my water bottle still leak after replacing the gasket?
The most common causes are a twisted or half-seated gasket, the wrong size, or debris trapped in the groove. Reseat the gasket, check the fit, and clean the groove before testing again.
Frequently Asked Questions
Where can I find a replacement gasket for my water bottle?
Start with the manufacturer's website or the brand's support page. If the bottle is a discontinued model or a generic brand, measure the seal's inner diameter, thickness and groove width, then search for a universal replacement with matching dimensions. Always confirm the material is food-grade silicone before you buy, and check that the listing states the size clearly in millimetres.
How do I know if my water bottle gasket needs replacing?
Look for visible cracks, flattening, stickiness, discoloration or dark spots that do not wipe away. A gasket that no longer springs back when pressed is losing its compression seal, and a bottle that drips when tilted or lid-down in a bag usually has a worn seal. Persistent odour that survives washing is another sign, because seals hold moisture in tiny crevices where mould can grow. If any of these show up, replace the gasket rather than trying to repair it.
Can I clean a moldy water bottle gasket or should I replace it?
Light surface mould can often be cleaned: remove the gasket, soak it in warm water with a little dish soap or diluted vinegar for 15 to 20 minutes, scrub the groove with a soft brush and rinse thoroughly. Dry it completely before reinstalling. If black spots remain after cleaning, or the rubber feels spongy or sticky, replace it, because mould can penetrate the material and cleaning will not reach it. Replacing a seal is inexpensive compared with the hygiene risk of keeping a contaminated one.
Is it easy to replace a gasket seal?
Yes, for most bottles it takes a few minutes with no special skills. The main challenge is getting the old seal out without damaging the groove, which is why a blunt pick tool helps. The tricky part is seating the new gasket fully into its groove, so it sits flat with no twists or bulges before you screw the lid on. Testing with water after installation confirms whether you did it correctly.
Comments