How to Choose a Leakproof Bottle Cap?
Quick Summary
To choose a leakproof bottle cap, start with the gasket, the ring inside the cap that creates the seal. Look for food-grade silicone, match the exact diameter and thickness to your bottle, and make sure it has no cracks, flat spots, mold or stickiness.
Silicone gaskets are generally a good choice for gym bottles, while rubber can crack and absorb smells over time.
Measure the old gasket's outside diameter and thickness, or check the bottle's model number before buying.
Test a new cap by filling the bottle three-quarters full, inverting it over a sink, and waiting two minutes.
Do not overtighten the cap to stop a leak, because it can permanently compress the gasket and crack the threads.
Remove the gasket and wash the lid and gasket separately, letting every part air-dry fully before reassembling.
Table of Contents
Why Bottle Caps Leak in the First Place
Most leaking bottles fail for one of three reasons: a worn gasket, a loose or badly designed lid, or a cap that was never sealed properly. Knowing which one you're dealing with makes choosing a leakproof bottle cap much easier.
A common mistake is buying a new bottle when the real fix is a cheap replacement part. Before you spend money, check what actually failed. Often the gasket is the culprit, and it can be swapped in minutes.
Watch out: Dropping a bottle or tossing it into a bag with heavy gear can crack the lid threads, so it's worth inspecting the threads too.
Check the Gasket: Material, Size and Condition
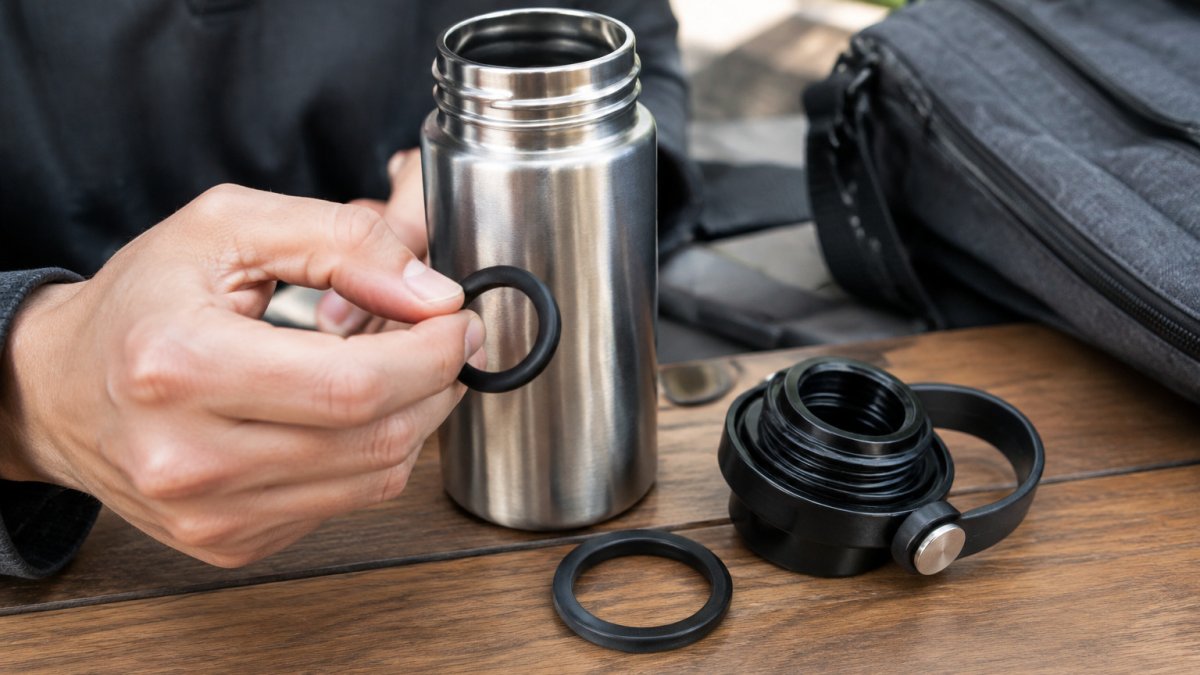
The gasket is the ring inside the cap that creates the seal. If it's flat, cracked, or sticky, it won't hold water under pressure. Start here, because it's the cheapest part to fix and the most common cause of leaks.
When you shop for a leakproof bottle cap, look at three things:
Material: Silicone or rubber, with food-grade ratings
Size: The exact diameter and thickness for your bottle model
Condition: No cracks, flat spots, mold or stickiness
Silicone Versus Rubber Gaskets
Silicone is generally a good choice for gym bottles. Rubber is a cheaper material that can crack and absorb smells over time.
Universal Versus Proprietary Sizing
Before buying, measure the old gasket's diameter and thickness, or check the bottle's model number. Follow the full step-by-step guide to replacing a worn gasket correctly for the measuring and fitting details. A gasket that's even slightly too big or too small will leak.
Here's how to measure a generic gasket without the bottle's model number. Remove the old gasket and lay it flat. Use digital calipers or a ruler to measure the outside diameter, the inside diameter, and the thickness. Write those three numbers down. Most replacement gaskets are sold by outside diameter and thickness, so those are the two figures that matter most. If the old gasket is too degraded to measure accurately, measure the groove inside the cap where the gasket sits, then subtract a millimeter or two for compression.
Watch out: A gasket that looks close in size can still leak if the thickness is wrong. A gasket that is too thin won't compress against the bottle rim, and one that is too thick will stop the cap from screwing down fully. When in doubt, order two thicknesses and test both.
The table below sums up the key gasket facts to check when buying a replacement.
Check | Target | Why it matters |
Material | Food-grade silicone | Stays flexible and resists odors |
Material | Rubber | Cheaper, can crack and absorb smells |
Outside diameter | Measured from old gasket | Wrong size will leak |
Thickness | Matches original | Too thin won't seal, too thick stops full screw-on |
Condition | No cracks, flat spots, mold or stickiness | Damaged gaskets won't hold pressure |
Evaluate the Lid Design and Locking Mechanism
The lid design decides how well the cap stays closed in a moving bag.
Look for these features:
A full-thread screw closure that turns at least one full rotation
A locking tab or sliding lock on flip-top lids
A flat, smooth sealing surface where the gasket meets the bottle rim
Step-by-Step: How to Test a Cap for Leaks Before You Trust It
Test a new or repaired cap before it goes into your gym bag. This takes about five minutes and catches most problems early.

Fill the bottle about three-quarters full with water.
Tighten the cap firmly, then turn it upside down over a sink.
Wait two minutes and check for drips at the seal.
Shake the bottle gently side to side for 30 seconds.
Check again for moisture on the cap or around the rim.
Repeat with the bottle lying on its side for another two minutes.
If you see any water, loosen the cap, check the gasket is seated flat, and test again. Persistent leaks usually mean a damaged gasket or thread.
Troubleshooting a Failed Leak Test
Most guides stop at the leak test. The harder part is diagnosing why a new gasket or cap still leaks. Here are the common failure patterns and what they mean.
The gasket won't sit flat. This usually happens when the gasket is slightly too large for the groove or when it has been stretched during installation. Try pressing it in with a blunt tool like the handle of a spoon, working around the circumference instead of forcing one spot. If it still won't sit flat, the gasket is the wrong size.
The lid won't screw on after replacement. A gasket that is too thick will lift the cap off the threads. Compare the new gasket's thickness to the old one with calipers. If the new one is more than a millimeter thicker, it is the wrong spec.
The cap screws on but leaks at the rim. Check the bottle rim for chips or dried residue. A tiny piece of grit or dried sports-drink powder on the rim will create a channel for water. Clean the rim with a soft brush and warm water, then retest.
The leak only happens when the bottle is shaken. This points to a gasket that is seated but not compressed enough. Check that the cap turns at least one full rotation past first contact. If it stops early, the gasket is too thick or the threads are damaged.
The leak appears after a few days of use. This is often mold or residue buildup in the gasket groove, which prevents a flush seal. Remove the gasket, clean the groove, and dry everything completely before reassembling.
Watch out: Do not overtighten the cap to stop a leak. Overtightening compresses the gasket permanently and can crack the lid threads, which turns a cheap gasket fix into a full cap replacement.
How to Clean a Water Bottle Lid Without Ruining the Seal
Cleaning keeps gaskets fresh and prevents the mold and odors that weaken seals over time. Learn how to keep gym gear free of contamination while protecting the seal. The key is to clean gently and dry completely.
Here's a simple routine:
Remove the gasket from the cap before washing
Wash the lid and gasket separately in warm, soapy water
Use a soft brush for the threads and gasket groove
Rinse well and let every part air-dry fully before reassembling
Watch out: Don't soak silicone gaskets in harsh cleaning solutions or boiling water for long periods. Prolonged heat and strong chemicals can make them brittle. Warm soapy water is enough for routine cleaning.
Also avoid putting gaskets back on while damp. Trapped moisture is a common cause of mold, which breaks down the seal.
How to Prevent Leaking Water Bottles in Your Bag
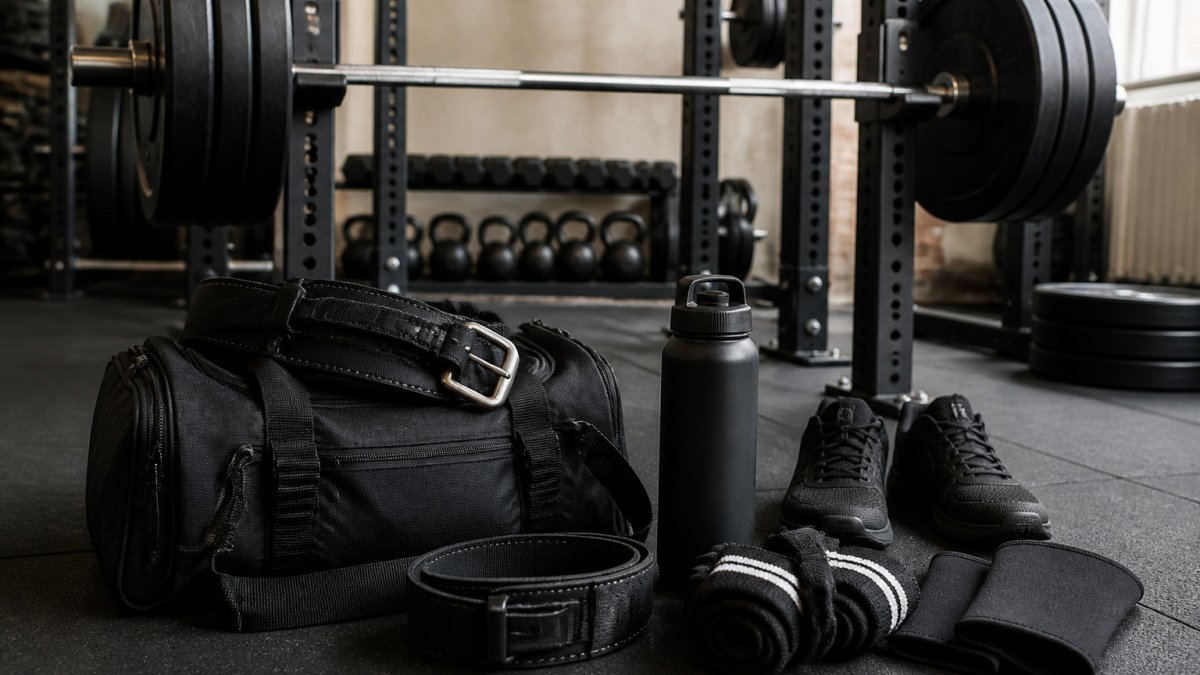
Even a good cap can leak if it's packed badly. Small habits make a big difference when you're carrying gear to the gym every day.
Close the cap fully before you put the bottle in your bag
Store the bottle upright when possible to reduce pressure on the seal
Use a dedicated pocket or sleeve to protect electronics and clothes
Keep the bottle away from phones and wallets, which get ruined fast if they get wet
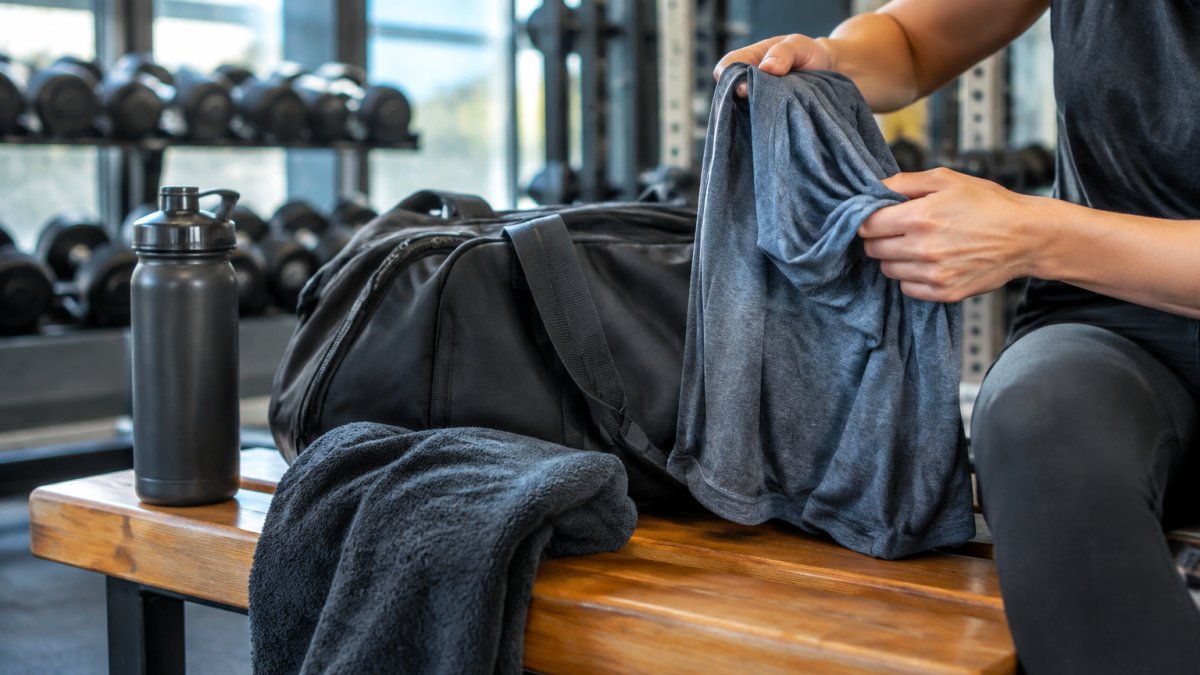
A sealed plastic bag around the bottle adds a second layer of protection for valuable gear. Many lifters keep a towel in their bag as backup, too.
Pick the Right Cap for Your Next Session at the Gym
Choosing a leakproof bottle cap comes down to matching the gasket, lid design and sizing to how you use your bottle. For daily gym sessions with a bag, prioritize a silicone gasket, a full-thread screw lid, and a cap that fits your exact bottle model.
Check the gasket first, test the seal before every new season, and clean the parts regularly. These simple steps prevent most leaks and keep your gear dry. Explore HYPE Fit Gear's current range on our website for available products and current pricing.
Frequently Asked Questions
How do I know if my bottle cap is leaking?
Look for water on the outside of the cap, around the rim, or inside your bag after a short carry. You can also run the leak test described above to confirm.
What is the best material for a leakproof bottle cap?
Food-grade silicone is the best choice for most people. It stays flexible, resists odors, and handles repeated washing better than most rubber gaskets.
How often should I replace a bottle gasket?
Replace the gasket when it cracks, flattens, or becomes sticky, which often happens within several months of daily use. Check it regularly.
Frequently Asked Questions
Is it easy to replace a gasket seal on a bottle cap?
Yes, in most cases. Pry the old gasket out of its groove with a blunt tool such as a plastic pick, then clean the groove and check for debris. Press the new silicone gasket into the groove evenly, starting at one point and working around the circle so it sits flat without twisting. Once it is seated, run a leak test with water before you pack the bottle. If the gasket keeps popping out, check that you bought the correct diameter and thickness for your model, since a slightly wrong size will never seal properly.
How often should you replace a silicone gasket on a bottle cap?
Replace the gasket when you see cracks, stiffness, permanent flattening, discoloration or a persistent odor that cleaning will not remove. Gaskets that stay in a bottle used daily with cold and warm liquids tend to degrade faster than those used occasionally. Mold growth in the groove is also a reason to replace rather than keep scrubbing, because the material can harbor residue that a quick rinse will miss. Keep a spare gasket in your gym bag so a worn seal does not end your training session.
Why does my water bottle leak even when the cap is tight?
Tightness alone does not guarantee a seal. Leaks usually come from a gasket that is dirty, damaged, misaligned or the wrong size, or from debris caught between the cap and the rim. Check that the gasket sits fully in its groove and is not pinched. Also inspect the threads: cross-threading or a worn thread can let the cap sit crooked even when it feels snug. Clean the lid components, reseat the gasket, and test again with water over a sink before blaming the cap design.
Are universal replacement caps reliable for preventing leaks?
Universal caps can work, but reliability depends on how closely the thread pattern and opening diameter match your bottle. A universal fit that is even slightly off often leaks under pressure, especially when a bottle is shaken or knocked around in a bag. If you use a universal cap, test it thoroughly with water, and check the seal after every rinse for the first few uses.
Comments