Best Gym Bag for Powerlifting Gear: The Perfect Duo
Last Updated: October 23, 2026
Quick Summary
The best gym bag for powerlifting gear is one built around your belt, not a generic duffel, with ventilated storage for shoes and sleeves and reinforced attachment points. Our Snap Training Bag carries your full kit, and paired with the SnapFlask it forms one system for storage and hydration.
Pack the belt first, flat against the back panel or hung from a dedicated loop.
A 35-40L bag fits a full kit: belt, shoes, sleeves, wraps, straps, chalk and clothing.
Check bar-tack or box-X stitching at strap and handle attachment points before buying.
A ventilated shoe compartment keeps wet gear away from clean wraps and clothing.
The SnapFlask has a built-in mounting angle for recording lifts without a phone mount.
Table of Contents
Why the Best Gym Bag for Powerlifting Gear Matters
The Powerlifting Gear Checklist: What Your Bag Must Hold
What Actually Fits: Capacity by Real Kit
The Belt Is the Decision Point
How to Pack a Gym Bag for Heavy Training Days
Why a Gym Bag with Shoe Compartment Changes Everything
Gym Bag Essentials for Weightlifting: The Non-Negotiables
The Perfect Duo: SnapFlask and Snap Training Bag
Durability, Hygiene, and Carry Comfort: What to Check Before You Buy
Durability: Test the Failure Points, Not the Fabric
Hygiene: Manage Moisture, Not Just Odor
Carry Comfort: Match the Carry to the Commute
Frequently Asked Questions
Why the Best Gym Bag for Powerlifting Gear Matters
Your kit is heavy, awkward, and expensive. A belt alone changes how a bag has to be built.
That is the tension running through this guide. A powerlifting bag is not a bigger gym bag. It is a different piece of equipment.
Below, we break down what your bag must hold, how to pack it for heavy days, and how our Snap Training Bag and SnapFlask work as one system.
The Powerlifting Gear Checklist: What Your Bag Must Hold
Start with the gear list, not the bag. A powerlifting gear checklist keeps you honest about capacity before you buy anything, because the question is never "how many liters" in the abstract, it is "does my actual kit fit, and does it still close."
Here is the core kit most lifters carry, with a realistic sense of how much room each item demands:
Lifting belt, stiff, wide, and the single bulkiest item in the bag. A 10mm or 13mm powerlifting belt does not fold flat; it wants a wide, structured space, ideally hung or laid flat rather than crushed under shoes. Treat it as the anchor item every other decision works around.
Knee sleeves, thick neoprene that holds shape and takes up real space. A pair of 7mm sleeves is roughly the volume of a folded hoodie and does not compress well.
Wrist wraps and lifting straps, small, but they tangle and disappear. They need a pouch or a dedicated small pocket, not the bottom of the main compartment.
What Actually Fits: Capacity by Real Kit
Most bag listings quote liters and stop there. That number means little until you map it to a kit. Here is the capacity guidance we use when sizing a bag against a real powerlifting loadout:
Bag size (approx.) | What fits comfortably | What gets tight |
Around 25-30L | Belt laid flat, one pair of shoes, wraps and straps in a pouch, a change of clothes, water bottle | Knee sleeves and a second pair of shoes compete for the same space; chalk needs its own sealed bag |
Around 35-40L | Full kit: belt, shoes, knee sleeves, wraps, straps, chalk, clothing, bottle, small accessories | Still tight if you carry a foam roller or a second pair of lifting shoes |
Around 45L and up | Everything above plus a roller, bands, and a towel, with room to spare | Becomes awkward on public transit and may not fit a standard gym locker |
A common pattern among lifters who train several days a week: a mid-size bag packed in the right order carries better than an overstuffed large one. Capacity is a ceiling, not a target.
The Belt Is the Decision Point
Notice what is missing from most bag descriptions: the belt. That one item is where budget options fail first.
When you assess any bag, load it in this order and see whether it still closes without strain: belt, shoes, knee sleeves, clothing, then small items. If the belt forces the bag open at the top or bulges the base, the capacity number on the listing is misleading for your kit.
Pro Tip Measure your belt's coiled diameter before you shop. A belt that coils wider than the bag's internal width will never sit flat, no matter how many liters the bag claims.
That single check tells you more about real-world fit than any spec sheet.
How to Pack a Gym Bag for Heavy Training Days
Learning how to pack a gym bag for powerlifting is mostly about weight distribution. Get the order right and a full bag still carries comfortably.
Pack heavy, dense items closest to your back. On a backpack or hybrid carry, that means the belt and shoes sit against your spine, with clothing and accessories filling the outer space.
Our packing order, tested against a full squat-day loadout:
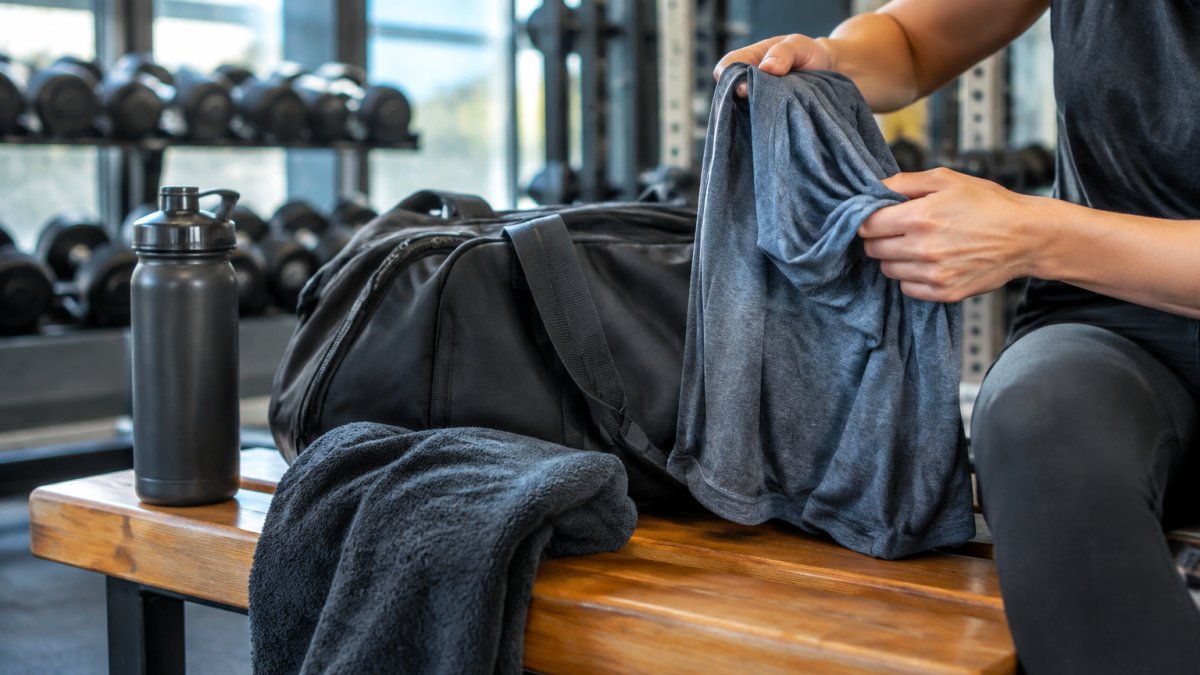
Belt first, flat against the back panel or hung from a dedicated loop
Shoes next, in a separate shoe compartment, never against clean clothes
Knee sleeves and wraps, in a ventilated pocket so they dry between sessions
Chalk, bagged or in a sealed pouch, always
Clothing, the top layer, easy to grab
Small items, phone, keys, wallet in a dedicated pocket, not loose
Pro Tip Roll your knee sleeves rather than folding them. They dry faster, keep their shape, and slide into a ventilated pocket without dragging dampness into the rest of the bag.
The order matters more than the bag's total capacity. A well-packed mid-size duffel carries better than an overstuffed large one.
Why a Gym Bag with Shoe Compartment Changes Everything
A gym bag with shoe compartment is not a luxury feature.
Shoes carry the most grit, moisture, and odor of anything you bring into a gym.
A dedicated, ventilated shoe compartment does three things:
Separates wet gear from dry clothing and clean wraps
Lets air circulate so shoes and sleeves dry between sessions
Keeps the main bag cleaner and easier to wipe down
The same logic applies to your knee sleeves and any wet gear after a conditioning block.
If you train most days, this is the feature you will notice first. Not on day one, but in week three.
Gym Bag Essentials for Weightlifting: The Non-Negotiables
Gym bag essentials for weightlifting split into two groups: what you carry, and what the bag itself must do.
For the bag, four things are non-negotiable:
Reinforced stitching at strap and handle attachment points
Heavy-duty zippers that do not split under load
Abrasion-resistant base for floors, benches, and truck beds
For the contents, the essentials are the belt, sleeves, wraps, straps, chalk, shoes, and a change of clothes, plus your phone and keys.
Watch Out The most common mistake is buying for capacity alone. A huge bag with thin straps and single stitching will fail at the handle long before it runs out of room. Check the attachment points before you check the volume.
That is also where hygiene gets decided. A bag that opens wide and stands up is easier to empty, wipe, and air out. A bag that collapses into a pile gets ignored, and ignored bags get left damp.
The Perfect Duo: SnapFlask and Snap Training Bag
This is the part most gear guides skip. Storage and hydration are usually sold as separate problems.

The Snap Training Bag attaches securely to gym machines, which keeps your phone, keys, and wallet off the gym floor.
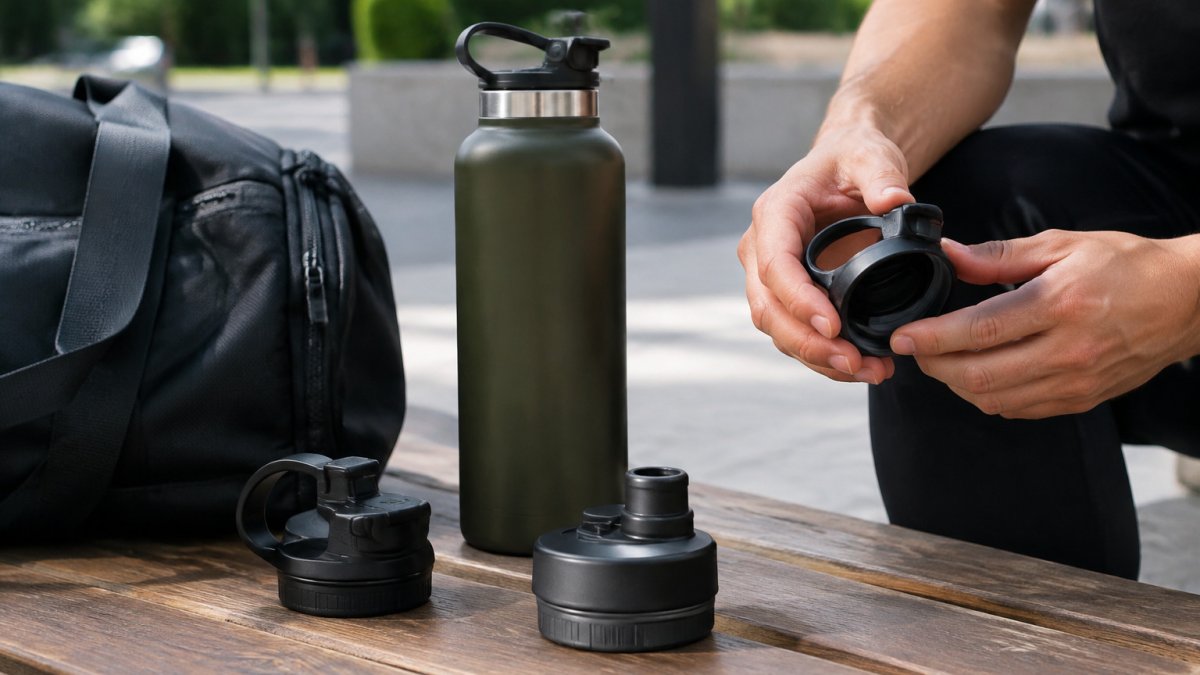
The SnapFlask features a built-in mounting angle for recording lifts.
Together they solve the awkward-equipment problem. You are not juggling a bottle, a phone, and a bag between sets.
What lifters tell us matches what we designed for.
Best For Lifters who record their training and want storage and hydration in one system, without a separate phone mount cluttering their setup.
The bundle is the reason this guide exists.
Durability, Hygiene, and Carry Comfort: What to Check Before You Buy
Durability, hygiene, and carry comfort are the three checks that separate a bag that lasts a year from one that lasts a week. Most guides tell you to "look for quality." That is not useful. Here is how to actually test each one, and what failure looks like before it happens.
Durability: Test the Failure Points, Not the Fabric
A bag almost never fails in the middle of a panel. It fails where load concentrates. Check these in order:
Strap and handle attachment points. This is the first failure point on any heavy-load bag. Look for bar-tacks or box-X stitching rather than a single line of stitching. A single stitch line under a loaded belt and shoes will start to pull within months.
Zippers under load. A heavy-duty zipper should be a coil or molded-tooth design that runs smoothly when the bag is full, not just when it is empty. Test it loaded. If it splits or catches at the curve, it will fail at the worst moment.
Base abrasion resistance. The base meets gym floors, benches, and truck beds. A reinforced, coated, or double-layer base resists scuffing far better than a single thin panel.
A practical test: load the bag with your real kit, lift it by one strap and hold it for thirty seconds, then set it down and check whether the attachment point distorts. That single check reveals more than any marketing claim.
Hygiene: Manage Moisture, Not Just Odor
Odor is a symptom. Moisture is the cause. Sweaty shoes, damp knee sleeves, and a wet towel left in a sealed pocket create the conditions for odor, and no amount of spray fixes a bag that traps moisture.
What actually works:
Ventilated compartments for shoes and sleeves, so air moves and gear dries between sessions.
A wide-opening main compartment so you can empty and wipe the interior rather than reaching blindly into a collapsed bag.
A wipeable lining that does not absorb sweat or chalk dust.
A simple routine beats any product feature: empty the bag after every session, leave the compartments open to air, and wipe the lining weekly. Bags that get ignored stay damp, and damp bags are the ones that smell.
Carry Comfort: Match the Carry to the Commute
Shoulder strap padding matters when the bag is loaded with a belt and shoes. Backpack straps matter more on a commute, where a single-shoulder carry gets old fast.
Also weigh the bag against your routine. A large bag that is comfortable in a car can be awkward on a crowded train or too big for a standard gym locker.
Here is the short version:
Check | What to Look For | Why It Matters |
Durability | Bar-tack or box-X stitching, heavy-duty zippers, abrasion-resistant base | Survives daily heavy loads |
Hygiene | Ventilated shoe compartment, wipeable lining, wide opening | Prevents moisture and odor buildup |
Carry comfort | Padded shoulder strap, backpack straps, balanced load | Comfortable on commutes |
Organization | Dedicated compartments, belt storage, small-item pocket | Fast access between sets |
Structure | Stands open on its own under load | Easier packing and drying |
The pattern across all three: the details you cannot see from a product photo decide whether the bag survives your training block.
Frequently Asked Questions
What size gym bag do powerlifters need?
Most powerlifters need a bag in the 35 to 45 litre range. That fits lifting shoes, a belt, knee sleeves, wrist wraps, straps, chalk, a water bottle, and a change of clothes without forcing the zippers. If you carry a separate work outfit or a foam roller, aim for the upper end. Measure your belt rolled up and your shoe size before buying, then check the bag's internal dimensions rather than trusting the litre figure alone.
Are duffel bags or backpacks better for powerlifting gear?
Duffels win on capacity and easy access to bulky items like belts and shoes. Backpacks win on commute comfort and hands-free carry. A hybrid carry design gives you both: backpack straps for the walk or bike ride, and a wide top opening so you can grab your belt without unpacking everything. If you train after work and commute by public transport, prioritize the backpack straps and a structured base that keeps the bag upright in a locker.
How do you keep lifting shoes and sweaty clothes separate from clean gear?
Use a dedicated shoe compartment with ventilation, and pack a separate wet bag for sweaty clothes. Put shoes in first, sole down, so dirt stays away from your wraps and belt. Never store damp knee sleeves in the main compartment; hang them to dry as soon as you get home. A bag with at least one ventilated pocket and a wipeable lining makes the biggest difference to odor over time.
What should a powerlifting gear checklist include?
A practical powerlifting gear checklist covers: lifting belt, lifting shoes, knee sleeves, wrist wraps, lifting straps, chalk, a water bottle, a towel, a change of clothes, and a phone mount if you record lifts. Add a small pouch for tape, nail clippers, and a spare hair tie. Keep the checklist in your bag so you can repack in under two minutes and never leave a belt or wraps at home on a heavy day.
Heavy training already asks enough of you. Your bag should not be another thing to manage. If you want storage that keeps your kit off the floor and hydration that doubles as a phone mount, the Snap Training Bag and SnapFlask are built for exactly that. Buy the pair together now and the bundle carries 20% off. Get the gear and stop rebuilding your setup every session.
GET THE GEAR
Add hypefitgear.com as a preferred source on Google →
Comments