How to Prevent Leaking Water Bottles in Your Bag
Last Updated: October 26, 2026
Quick Summary
You prevent leaking water bottles in your bag by fixing the four common causes: a worn seal, a loose or cross-threaded cap, overfilling, and packing the bottle sideways. Run a 30-second pre-pack leak test with a dry paper towel, then pack the bottle upright in a dedicated pocket matched to its closure type.
A worn or missing rubber seal is the number one cause of bottle leaks.
Dry the lid and threads, then hold the bottle upside down for 10 seconds over a paper towel.
A single drop on the towel means the seal, threads, or lid alignment needs attention.
Pack flip tops, straw lids, and insulated bottles upright, never on their sides.
Disassemble and wash the lid and seal weekly, then air dry both parts fully.
Table of Contents
Why Your Water Bottle Leaks in Your Bag
The Four Most Common Causes of a Leaking Bottle
How to Run a Pre-Pack Leak Test
The Turn-Upside-Down and Shake Test
How to Pack a Water Bottle in a Gym Bag
Match Your Packing to Your Closure Type
A Bag-by-Bag Packing Checklist
The Packing Sequence
Fixing a Water Bottle Leaking in a Backpack
How to Clean a Water Bottle Lid and Seal
How to Clean a Gym Bag After a Spill
Choosing Leak-Proof Gear for Your Gym Setup
Packing Your Gym Bag for a Leak-Free Session
Frequently Asked Questions
Why Your Water Bottle Leaks in Your Bag
A leaking water bottle in your bag can soak your clothes, ruin your headphones, and leave your gym bag smelling like a swamp.
Here's the short answer: most leaks come from a worn seal, a loose or cross-threaded cap, a bottle packed on its side, or pressure buildup from hot or fizzy drinks.
Below, we'll show you exactly how to test, pack, and troubleshoot your bottle so your gear stays dry.
The Four Most Common Causes of a Leaking Bottle
A worn or missing seal is the number one culprit.
A loose or cross-threaded cap comes second.
Overfilling pushes water into the lid threads. Add a temperature change and pressure does the rest.
Packing the bottle sideways or upside down turns a tiny drip into a full soak. Gravity always wins.
Most guides tell you to "tighten the lid." That's incomplete advice.
How to Run a Pre-Pack Leak Test
The fastest way to stop a leak is to test for one before the bottle ever touches your bag.
What you need: a dry paper towel, a sink or towel-lined surface, and your bottle filled to its normal level.
Fill to your normal level, not the brim. Leave the usual air gap. Overfilling pushes water into the threads and makes a good seal look bad.
Seat the lid the way you always do. Screw it on until it stops, then look at the cap-to-body gap. It should be even all the way around. An uneven gap means cross-threading.
Dry the lid and threads completely with the paper towel. Any moisture you see later is new leakage, not residue from filling.
Wrap the dry paper towel around the lid-to-body joint and hold the bottle upside down over the sink for 10 seconds. The paper towel is your indicator: a dry towel is a pass at the seal seat.
Apply gentle pressure. Squeeze the bottle body once, firmly but not hard enough to pop the lid. This simulates the compression a bottle feels when it is stuffed into a full bag. Check the paper towel again.
Shake it firmly three or four times while inverted, then set it upright and inspect the towel and the threads. Watch the base of the cap, not just the spout, water often escapes where the gasket sits.
Pass/fail rule: if the paper towel stays dry through steps 4-6, the bottle is bag-ready. If you see any new moisture, stop and fix the bottle before packing it.
The Turn-Upside-Down and Shake Test
The shake test is the gold standard because it mimics real movement. A bottle that sits still in a locker may never leak.
Watch the threads, not just the spout. Water often escapes around the cap's base where the seal sits.
Do this test after every wash and before every heavy session. It takes less time than drying a soaked hoodie.
Pro Tip Test the bottle with the lid you actually use. A spare lid that passes the test tells you nothing about the flip top or straw lid currently on your bottle.

How to Pack a Water Bottle in a Gym Bag
Packing a water bottle so it can't leak comes down to three things: matching your packing method to the closure type, keeping the bottle upright, and giving it a pocket of its own. Most guides stop at "keep it upright." The closure on your bottle determines where it is most likely to fail, so pack accordingly.
StyledByAva
Match Your Packing to Your Closure Type
Screw caps fail at the gasket seat and the threads.
Flip tops rely on a small plug or stopper that wears faster than a full gasket.
Straw lids leak at the straw base and the vent, not the cap.
Push-button lids have a spring-loaded seal that can be triggered by pressure from other gear.
Insulated bottles add pressure risk: hot liquids expand, and a bottle sealed while warm can force liquid through the closure as it cools.
A Bag-by-Bag Packing Checklist
Gym bag: use the side bottle sleeve or an upright end pocket. Keep the bottle away from towels and shoes so a drip does not wick into fabric. Add a waterproof pouch if the pocket is not lined.
School backpack: place the bottle in the side pocket, not the main compartment with books and electronics. If the backpack has only one main compartment, put the bottle in a dry bag first and stand it at the end of the bag.
Work bag or handbag: use an upright laptop-bag bottle pocket or a separate pouch. Keep the bottle away from documents and chargers; a slow drip ruins paper faster than it ruins fabric.
Travel pack: pack the bottle empty through security and fill it after, or use a bottle with a locking lid. Altitude and pressure changes in transit can force liquid through a closure that passes a normal shake test.
The Packing Sequence
Run the pre-pack leak test from the section above.
Leave a small air gap at the top so liquid can move without pressure.
Seal, then check the gap. Tighten the cap and confirm it is straight.
Use an upright pocket or bottle sleeve.
Add a waterproof pouch or dry bag for extra insurance.
Keep it away from electronics and documents.
If you want a bag built for this, our Snap Training Bag uses secure, organized compartments that hold a bottle upright and protect your gear. For heavier loads, see our guide to the best gym bag for powerlifting gear, which covers capacity and packing in more detail.
Watch Out A bottle that passes the shake test can still leak in a bag if it is packed on its side under pressure. Upright storage is not optional for flip tops, straw lids, and insulated bottles.
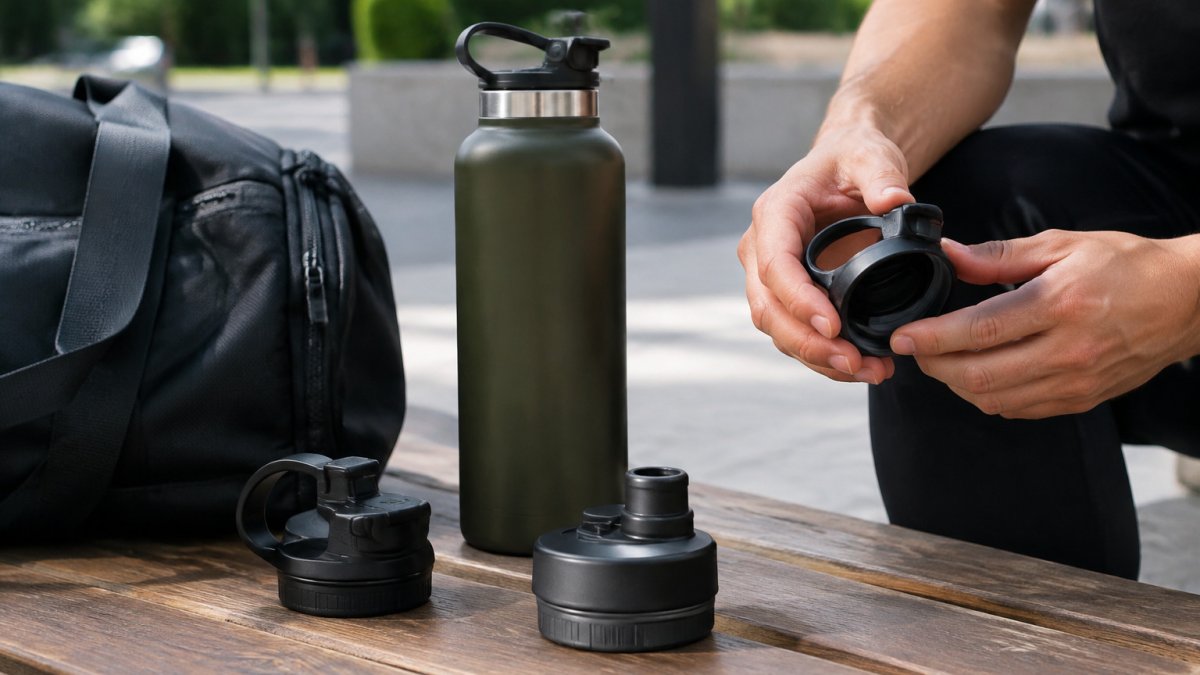
Each closure type fails in a different spot, so pack your bottle to match its lid.
Closure type | Where it fails | How to pack it |
Screw cap | Gasket seat and threads | Pack upright; confirm cap-to-body gap is even |
Flip top | Small plug or stopper | Pack upright; keep flip mechanism away from bag walls |
Straw lid | Straw base and vent | Pack upright; avoid straw folding against bag wall |
Push-button lid | Spring-loaded seal | Pack where nothing presses on the button |
Insulated bottle | Pressure from hot liquids | Let hot drinks cool before sealing; never pack on its side |
Fixing a Water Bottle Leaking in a Backpack
A water bottle leaking in a backpack needs fast action: remove the bottle, empty the wet pocket, and dry everything before mold sets in.
Start by pulling the bottle out and setting it on a dry surface. Turn the backpack inside out and blot the wet area with a towel.
Then find the cause. Check the seal, the lid threads, and whether the cap was cross-threaded.
How to Clean a Water Bottle Lid and Seal
Cleaning the lid and seal properly is the best leak prevention you can do. A dirty seal dries out, cracks, and stops sealing.
Follow these steps weekly:
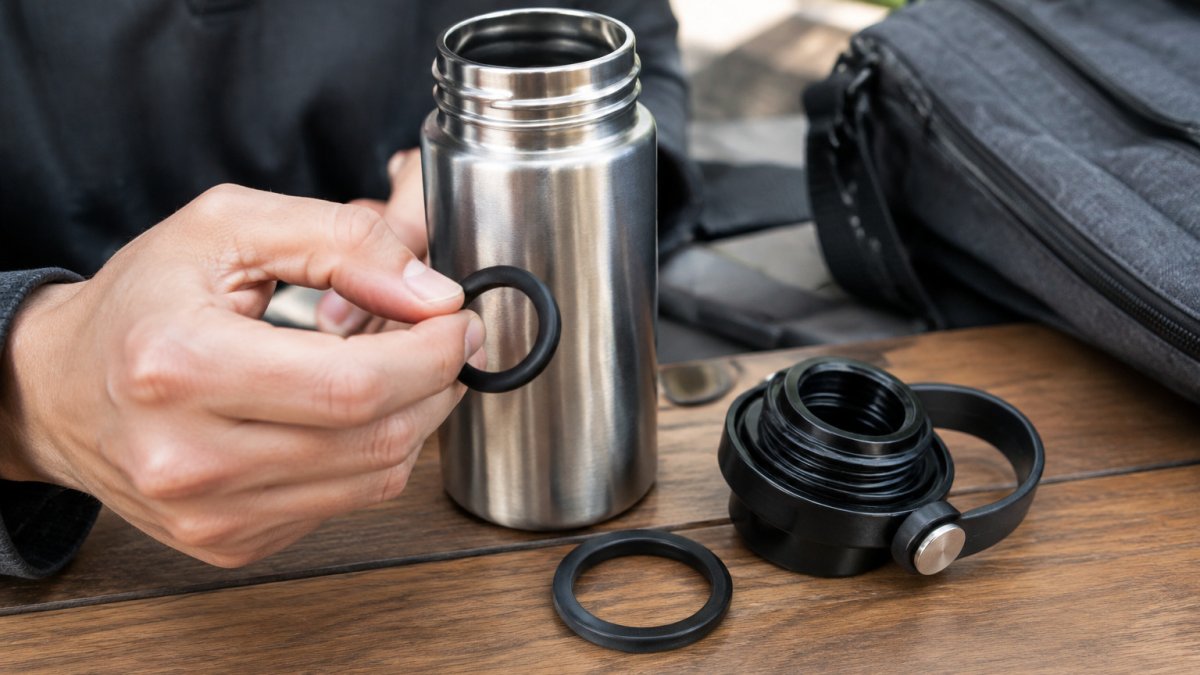
Disassemble the lid. Remove the gasket or rubber ring.
Wash in warm, soapy water. Use a small brush on the threads and spout.
Rinse fully. Soap residue attracts grime and can degrade rubber.
Air dry completely before reassembling.
Watch out: putting a hot lid straight back on a wet bottle traps moisture and encourages mildew. Dry both parts first.
Inspect the seal while it's out. If it's stretched, torn, or flattened, replace it. Spare seals are cheap and easy to find for most bottles.
How to Clean a Gym Bag After a Spill
A spill inside a gym bag needs more than a wipe. Moisture sits in seams and fabric, and that's where smells start.
Empty the bag completely.
Blot up standing water with a towel.
Wipe the liner with mild soap and water.
Air dry the bag open in a ventilated spot.
Check pockets and seams for lingering damp.
Never seal a damp bag or toss it in a hot car. Trapped moisture turns into odor fast. If the spill was from a sugary drink, rinse the area again to stop sticky residue from attracting grime.
Choosing Leak-Proof Gear for Your Gym Setup
The right gear removes most leak risk before it starts.
Leak-proof gear means the closure and the bag work together. A flip-top or straw lid is convenient but relies on a small seal that wears faster.
Our SnapFlask is built to keep your phone secure while you hydrate, and its closure is designed to stay sealed through hard sessions. You can also explore the SnapFlask and Snap Training Bag combo, which pairs a leak-resistant bottle with upright storage so your gear stays dry from the start.
Best for: lifters who want their bottle and phone sorted in one setup.
Skip if: you already have a bottle you trust and just need packing tips.
Packing Your Gym Bag for a Leak-Free Session
A repeatable packing routine beats any single product. Use this checklist every time you head to the gym:
Run the shake test on your bottle
Confirm the seal is clean and seated
Leave a small air gap at the top
Pack the bottle upright in a dedicated pocket
Do this and leaking water bottles stop being a problem. The routine takes under a minute and saves you a soaked bag every week.
Frequently Asked Questions
Why does my water bottle leak when it is in my bag?
Most leaks come from four things: a loose or cross-threaded cap, a worn or missing gasket, overfilling past the fill line, or pressure changes from hot liquid or carbonated drinks. Bags also get tossed and squeezed, so a lid that feels tight in your hand can work loose against gym equipment. Check the seal and threads first, then run a quick upside-down shake test before you pack it.
How do I prevent a water bottle from leaking in my bag?
Tighten the lid until it stops, confirm the gasket sits flat in its groove, and leave a finger-width of space below the fill line. Pack the bottle upright in an exterior pocket or a waterproof pouch, away from electronics and documents. Before zipping up, turn the bottle upside down and shake it over a sink. A bottle that passes that test in your hand is far less likely to soak your gym clothes.
How can I tell if a water bottle lid is sealed properly?
Fill the bottle, screw the cap on until it stops without forcing it, then turn it upside down and shake it firmly for a few seconds. Watch the lid threads, the drinking spout, and the straw opening for drips. A properly sealed lid shows no moisture after ten seconds. If you see a bead of water, remove the cap, check that the gasket is seated, and try again.
What should I do if my water bottle leaks inside my gym bag?
Pull everything out immediately and set wet items aside. Empty the bottle, dry the bag's lining with a towel, and wipe down hard items like your phone or lifting straps. If the spill soaked into fabric, clean the bag with mild soap and warm water, then air-dry it fully open. Check the lid gasket before refilling, since a leak inside the bag usually means the seal needs cleaning or replacing.
Your gear should support your training, not sabotage it. HYPE Fit Gear builds the Snap Training Bag and SnapFlask to keep your essentials secure, upright, and dry through every session. Get started with HYPE Fit Gear and train without worrying about a soaked bag again.
GET THE GEAR
Add hypefitgear.com as a preferred source on Google →
Comments