How to Film Workouts Alone: Solo Lifting Setup
Last Updated: October 30, 2026
Quick Summary
To film workouts alone, separate logging from filming: log every set in a journal and film only one working set per main lift. Mount your phone at a three-quarter angle, set back and offset about 45 degrees, at roughly hip-to-chest height, out of walkways and other members' sightlines.
A solo setup needs a phone with free storage, a stable mount, and a planned camera spot.
Film one working set per main lift and log the rest in a workout journal.
Use a side view for deadlift bar path and a front view for knee cave.
Compare this week's session to the same lift two to four weeks ago, not yesterday.
Film yourself only, keep the frame tight, and ask before anyone else appears in shot.
Table of Contents
Logging Lifts vs Filming Lifts: Two Jobs, One Setup
Most lifters treat these as the same task. They are not.
Here is the core idea: log every set, film only a few. Your log tells you whether you are getting stronger. Your clips tell you whether you are moving well. Confuse the two and you either drown in footage or lose the data that matters.
That distinction shapes everything below, from what you carry to the gym to where the camera goes.
What You Need to Record Lifts by Yourself
A solo recording setup needs three things: a phone with enough storage, a stable mount, and a plan for where the phone sits. You do not need a camera crew or a full rig. A mini tripod, a rack-mounted holder, or a bottle with a built-in mounting angle will all hold a phone steady.
phone camera settings guide from Apple Support is worth a read before your first session, because resolution and frame rate choices affect file size and battery drain.
Keep your kit small:
A phone with at least a few GB of free space
A mini tripod or rack mount
A workout journal or notes app
A stopwatch for rest intervals
Phone, Tripod, and Low-Equipment Options
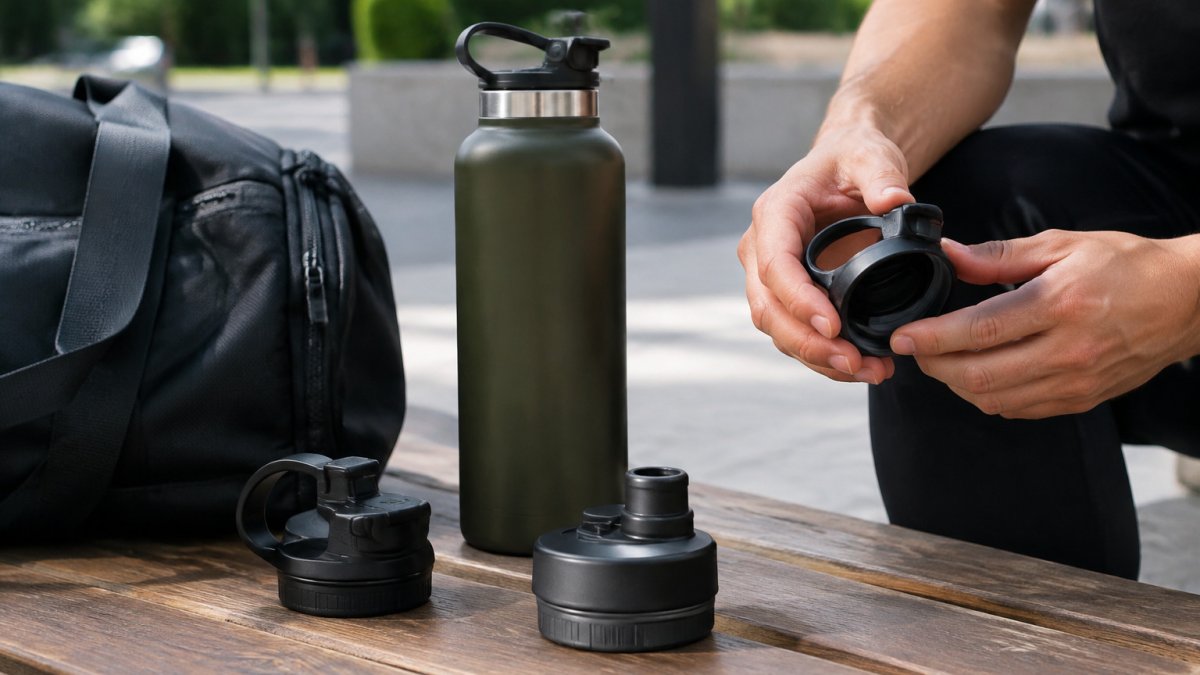
Not everyone wants to carry a tripod. If you train in a busy commercial gym, a compact magnetic flask that holds your phone gives you a mounting angle without extra bulk. A training bag that attaches to gym machines keeps your phone, keys, and wallet off the gym floor. Browse the SnapFlask magnetic water flask if you want a low-equipment option that doubles as hydration.
Phone Placement for Gym Filming That Stays Out of the Way
The best phone placement is out of your lifting path, out of other members' sightlines, and stable enough that a stray bump will not ruin the clip. A three-quarter position, set back and slightly to the side, covers most lifts without blocking walkways.
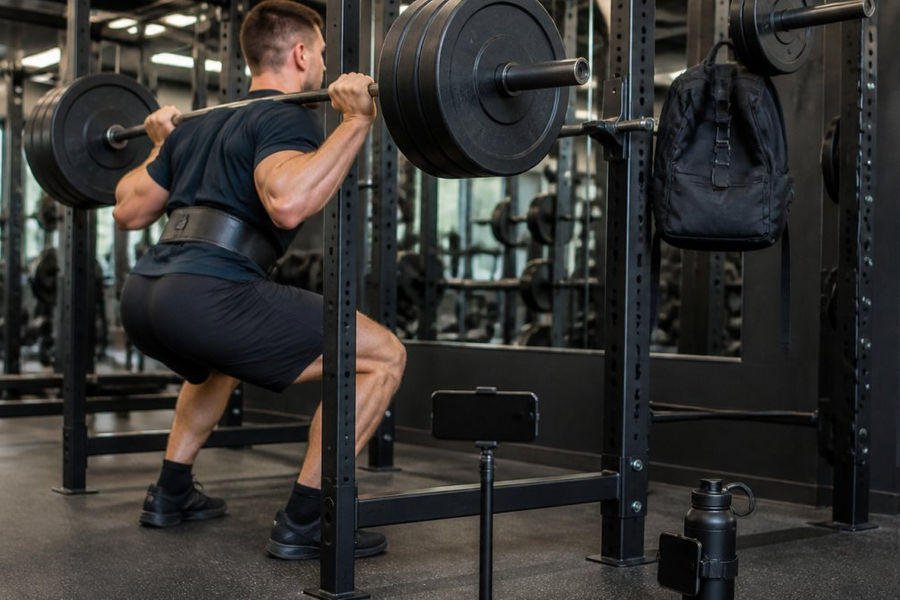
A few placement rules that save headaches:
Keep the phone off the floor where plates and feet travel
Mount at roughly hip-to-chest height for squats and deadlifts
Never block a mirror, walkway, or rack access
Test the spot with one warm-up set before you load heavy
If you are deciding between a rack mount and other options, our guide on whether a secure phone mount for squat rack is worth it covers the three-point mounting method and a load test. For a wider comparison of spots, see where to put your phone during a workout, which ranks seven proven methods from lockers to armbands.
The Best Angle to Film Weightlifting Form
The best angle to film weightlifting is the three-quarter view: phone set back and offset roughly 45 degrees from the lifter. It shows bar path, depth, and joint angles at once, which a pure side or front view cannot do alone.
Three-Quarter, Side, and Front Angles Compared
Each angle answers a different question about your technique:
Angle | Best For | Weakness |
Three-quarter | Squats, deadlifts, overall form check | Slightly harder to judge bar path |
Side | Bar path, depth, hip hinge | Hides left-right shifts |
Front | Knee tracking, symmetry, stance | Poor depth read |
Start with the three-quarter angle for most lifts. Switch to a side view when you are chasing bar path on a deadlift, and a front view when knee cave is your concern.
Tracking Workouts With Video Without Filming Every Set
Filming every set is the fastest way to kill your session and fill your phone. Film one working set per main lift, log the rest in a workout journal. That gives you a form check when you need it and clean data every week.
The gap most guides leave open is the difference between logging lifts and filming lifts. Logging is a numbers job: load, reps, rest, effort. Filming is a visual job: bar path, depth, joint angles. Run them as two separate workflows that share one phone, and you stop drowning in footage while still capturing the data that tells you whether you are getting stronger.
A Reusable Lift-Log Template
Copy this format into a notes app, spreadsheet, or paper journal. One row per set, one block per session:
Field | What to Record | Example |
Date and session focus | Day, lift emphasis | 2026-10-30, squat focus |
Exercise | Standard name | Back squat |
Load | Weight in lb or kg | 225 lb |
Sets x reps | Completed work | 4 x 5 |
Rest interval | Time between sets | 3 min |
Effort (RPE) | 1-10 scale | 8 |
One note per set | Felt heavy, grip slipped, depth good | Depth good, last rep slow |
Clip timestamp | Only if filmed | 0:42 |
Keep the template identical every session. Consistency is what makes the data comparable week to week.
Reading the Log for Progressive Overload
Progressive overload means adding load or reps over time while form holds. A common pattern is to compare this week's session to the same lift two to four weeks ago, not to yesterday. Ask three questions:
Did load or reps go up at the same effort?
Did effort drop at the same load and reps?
Did form hold, based on the clip you filmed?
If load climbed but your clips show shrinking depth or a collapsing brace, the log is lying to you. Treat the video as the tiebreaker: numbers say stronger, footage says sloppier, so repeat the load until form catches up. If both numbers and footage improve, add the smallest available increment next session, typically 2.5 to 5 lb on upper-body lifts and 5 to 10 lb on lower-body lifts for most lifters.
Pro Tip Film one working set per main lift and log every set. You get a form check when you need it and clean data every week without turning your session into a film shoot.
Our step-by-step guide on how to record lifts at the gym walks through the full recording workflow if you want to go deeper.
Privacy, Consent, and Gym Etiquette When Filming
Gym filming etiquette comes down to one rule: film yourself, not other people. Point the camera at your own rack, keep the frame tight, and ask before anyone else appears in shot.
Watch out: filming a wide shot that catches other members without consent can get you asked to leave, and in some places it raises legal privacy issues. Keep the frame narrow and you avoid the problem entirely.
If you use magnetic mounts near racks and plates, read up on whether magnetic gym gear is safe before you snap anything to metal equipment.
A Video Review Checklist for Technique
A video review turns raw footage into useful feedback. Run the same checklist every time so you compare like with like. The gap most guides leave open is lift-specific review: where to put the camera and what to actually look for on each lift.
Camera Placement by Lift
Lift | Best Camera Position | What It Reveals |
Back squat | Three-quarter, hip-to-chest height, set back and offset about 45 degrees | Depth, knee tracking, bar path, brace |
Deadlift | Side view at hip height, set back far enough to see the full bar | Bar path, hip hinge, lockout |
Bench press | Side view at chest height, angled slightly toward the head | Bar path, elbow tuck, touch point |
Overhead press | Front or three-quarter at chest height | Symmetry, bar path, low-back arch |
Row or pull-up | Side view at chest height | Range of motion, torso angle, scapular control |
Start with the three-quarter angle for most lifts. Switch to a side view when you are chasing bar path, and a front view when knee cave or symmetry is your concern.
The Review Checklist
Run this list against every clip you keep:
Is the whole rep in frame, including the bar?
Is the camera steady and level?
Can you see bar path clearly?
Check depth or range of motion against your target
Check joint alignment and left-right symmetry
Check brace and tempo, did the rep slow or shift under load?
Note one fix for next session
Trim the clip and label it by lift and date
Observable Form Cues by Lift
Squat: hip crease below knee at depth, knees tracking over toes, bar path over midfoot.
Deadlift: bar stays close to the shins, hips and shoulders rise together, lockout without hyperextension.
Bench press: elbows tucked around 45 to 75 degrees, bar touches lower chest, consistent touch point rep to rep.
Overhead press: bar path close to the face, ribs down, no excessive low-back arch.
Keep clips short. A single working set is enough. Store them in one folder so you can compare this month's squat to last month's without hunting.
Key Takeaway The checklist is only useful if you run it the same way every time. Same angle, same cues, same folder, that is what makes month-to-month comparison honest.
Build Your Solo Filming Setup With HYPE Fit Gear
Filming alone gets simple once the setup is right. You need a stable mount, a clear angle, and a place for your gear that is not the floor. That is exactly what we build at HYPE Fit Gear: the Snap Training Bag clips to gym machines to keep your phone and valuables secure, and the SnapFlask gives you a built-in mounting angle for recording lifts. Bundle options are available for cost savings, and current pricing is best confirmed on the HYPE Fit Gear website.
Get started with HYPE Fit Gear and train with a setup that keeps your phone steady and your focus on the bar.
Frequently Asked Questions
How do you record your lifts at the gym by yourself?
Set your phone on a mini tripod or a bottle with a built-in mount at a three-quarter angle, frame the whole bar path, and hit record before your first warm-up set. Use a stopwatch or phone timer to track rest intervals so you are not handling the device between sets. Review the clip after the session rather than mid-workout, and keep a written workout log alongside the video so you have both the numbers and the visual.
What is the best angle to film weightlifting form?
A three-quarter angle, roughly 45 degrees to the lifter, shows bar path, knee tracking, and torso position at once. A pure side view is best for spotting hip shift and depth on squats, while a front view reveals asymmetry. Pick one angle per session and keep it consistent so you can compare clips over time. Camera height around hip to chest level keeps the bar and your full body in frame.
How do you film a workout without a tripod?
Lean the phone against a sturdy water bottle, a weight plate, or a gym bag, or use a bottle with a built-in mounting angle. Avoid propping it on a bench other people need. A small mini tripod fits in most gym bags and is the most stable low-equipment option. Whatever you use, check the framing before your working set and make sure the phone cannot slide or tip mid-rep.
How do you keep your phone safe and stay out of other people's way while filming?
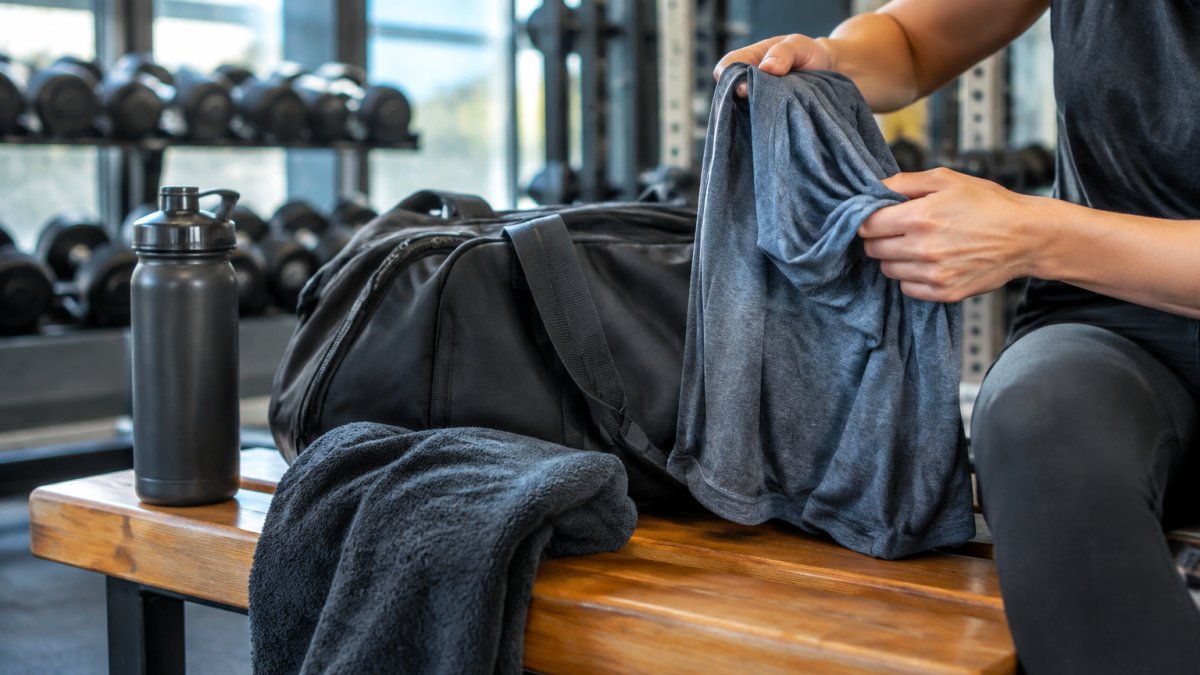
Set up at the edge of your platform or rack, not in a walkway, and keep the phone within arm's reach or clipped to your bag. Ask anyone in frame for consent before you record, and avoid filming strangers in the background. Use less crowded hours when you can. A training bag that attaches to the machine keeps your phone, keys, and wallet off the floor and out of the way between sets.
Comments