How to Record Lifts at the Gym: A Step-by-Step Guide
Quick Summary
To record lifts at the gym, mount your phone on a stable tripod, clamp or magnetic holder, and film from a three-quarter angle about 2 metres away at roughly 45 degrees to the side. This view shows depth, bar path and back position together. Pair each video with a workout log so you can compare form and weight over time.
Position the camera about 2 metres away and roughly 45 degrees to the side.
Check that the mount grips firmly and recheck it after warm-up sets.
Ask before filming anyone else and check your gym's filming policy first.
Log weight, reps, RPE and form notes alongside each video file.
Review your log every two weeks to spot progress and form breakdowns.
Table of Contents
Last Updated: October 29, 2026
How to record lifts at gym comes down to three things: a stable phone, the right angle, and a plan for keeping the footage useful. This guide is for gym-goers and powerlifters who want to review their own form without juggling a phone during every set. Recording your lifts gives you an honest record of bar path, depth and tempo that memory rarely captures.
The sections below cover the setup, the angle, etiquette in shared gyms and how to pair video with a simple log.
Why Record Your Lifts at the Gym
Video shows what you actually did, not what you think you did. A squat that feels deep from the inside can look shallower on camera. Most lifters only notice this when they review footage.
Recording helps you:
Spot form breakdowns like knees caving, heels lifting or the bar drifting forward
Compare sets over weeks, which is easier than trusting memory
Check tempo and rest between reps
Catch small wins you would otherwise miss
Start with one lift per session. Squats and deadlifts usually show the most useful detail.
Logging Lifts vs Filming Lifts: Know the Difference
Logging and filming are two different habits, and they answer two different questions.
Logging records the numbers: exercise, weight, reps and sets. It tells you how much you lifted.
Filming records the movement. It tells you how you lifted it.
You need both for a complete picture. A log without video can hide poor technique at a heavy weight. Video without a log makes it hard to see whether you are actually progressing.
Choosing the Best Phone Mount for Gym Recording
A steady mount matters more than a fancy camera. Shaky footage is hard to review, and a phone that falls off a rack can damage the phone and the gym floor.
Tripods, Clamps and Hands-Free Options
Most lifters choose from three setups:
Mini tripod: Cheap and portable. Works on a flat bench or the floor, but needs space.
Rack or clamp mount: Attaches to a squat rack or pole. Gives a fixed angle, so check that it grips the upright firmly before you load the bar.
Hands-free or magnetic options: Quick to set up. Confirm the magnet is strong enough for your phone and that the mounting surface is clean.
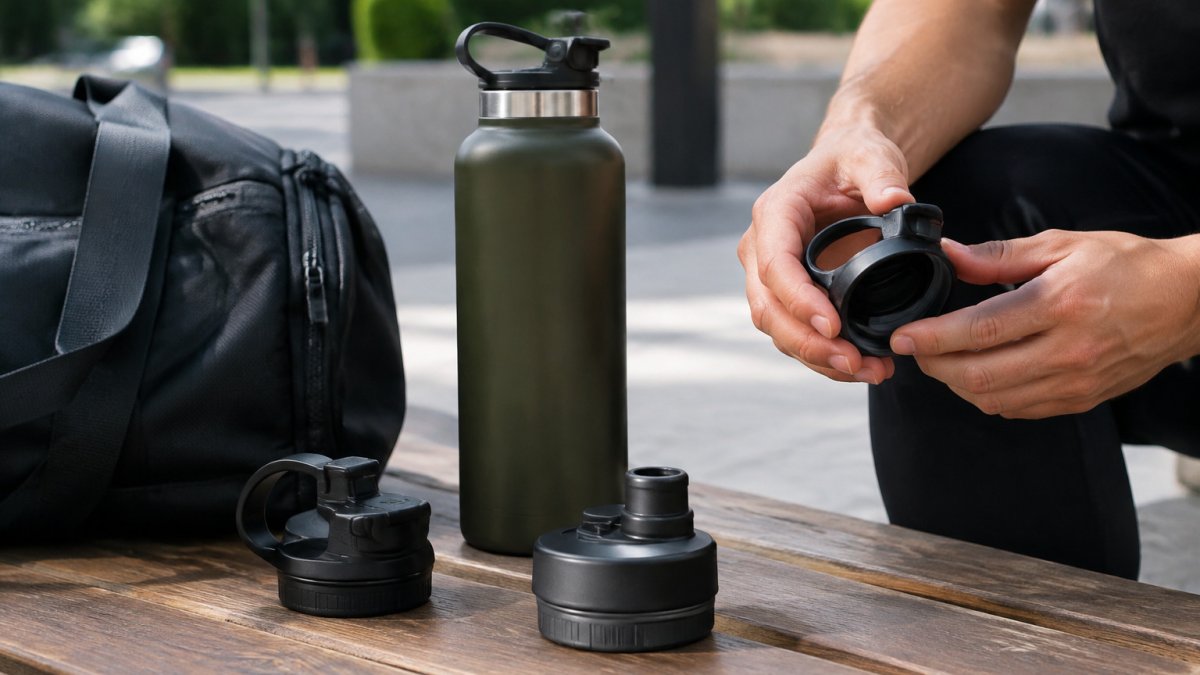
The SnapFlask features a built-in mounting angle for recording lifts. If you already own a clamp mount, a stable tripod or magnetic mount can do the same job.
Setting Up Your Phone Safely
Before every session:
Tighten the mount and tug it gently to test grip
Keep the phone well clear of the bar's path
Lock the phone in landscape mode
[ ]
Confirm the lens is not blocked by chalk or straps
Watch out: a mount that looks secure can slip under the vibration of a heavy set. Recheck the grip after your warm-up sets.
The article compares the three most common ways lifters mount their phone during a session.
Mount type | Best for | Key difference |
Mini tripod | Flat bench or floor | Cheap and portable, needs space |
Rack or clamp mount | Fixed angle at the rack | Grips the upright, check firmness |
Hands-free or magnetic | Quick setup | Confirm magnet strength and clean surface |
The Best Angle to Record Gym Lifts
For most lifts, a three-quarter angle works best. Position the camera about 2 metres away and roughly 45 degrees to the side of the lift. This view shows depth, bar path and back position together.

Side-on views are best for checking bar path and hip hinge. Front-on views help with knee tracking and symmetry, but they hide depth. Film a few sets from different angles once to see which one you find most useful.
Keep the whole body in frame, and leave a little space above your head so the bar stays visible at the top of each rep.
Recording Sets Without Disrupting Your Workout or Other Gym Users
Good gym etiquette keeps recording from annoying anyone. Set up before your session starts, not between sets when others need the rack. The details below cover the situations that cause the most friction.
Privacy and Consent: The Non-Negotiables
Never film people without consent. If someone walks into frame, stop recording or reposition. A quick "mind if you're in the background for a sec?" is enough in most gyms.
Check your gym's filming policy first. Many commercial chains restrict filming in locker rooms, group fitness studios, and crowded floor areas. Ask the front desk or check the member handbook before your first session.
Keep the frame tight on you. A camera pointed at your rack from 2 metres away is less likely to capture bystanders than a wide shot of the whole floor.
Delete footage you don't need. If a clip accidentally includes someone else, delete it rather than posting it.
Filming Without Disrupting the Floor
Ask before filming anyone else, and never record people without consent
Keep the phone out of the way of walkways and other lifters, and see where to put your phone during a workout for storage options that keep it clear of the floor.
Film during quieter hours when the rack is less busy
Use a timer or stopwatch to track rest intervals without checking your phone constantly
Avoid filming in mirror-heavy areas where your phone blocks someone else's view
If your gym has a designated filming area or platform, use it
Many lifters also track rest with a simple tally on their log, which keeps attention on the bar rather than the screen.
Feeling Comfortable Recording in Public
Recording in a busy gym can feel awkward at first. A few habits make it easier:
Start with one lift in a quiet corner rather than the main floor
Use a small tripod or clamp mount so your setup looks intentional, not improvised
Keep sessions short, one or two sets filmed is usually enough for technique review
Remember that most people are focused on their own training, not your phone
Watch Out A mount that looks secure can slip under the vibration of a heavy set, and a falling phone is both a damage risk and a distraction to others. Recheck the grip after your warm-up sets, and never place a phone where a dropped bar or plate could land on it.
How to Track Weightlifting Progress With a Workout Log
A workout log turns your footage into progress you can measure. Record the same information every session so you can compare weeks side by side. The real payoff comes from interpreting the data, not just collecting it.
Track these items for each main lift:
Date and exercise
Working weight
Sets and reps
Rest time between sets
Rate of perceived exertion (RPE) on a 1-10 scale, or reps in reserve (RIR)
Form notes from the video (for example, "bar drifted forward on rep 4")
Link or file name of the video
How to Read Your Log for Progressive Overload
Progressive overload means gradually increasing the demand on your muscles. Your log is the tool that tells you when to add weight, add reps, or hold steady. Use this simple decision framework after each session:
Compare the same lift week to week. Look at weight, reps, and RPE together. A set of 5 at 100 kg that felt like RPE 7 last week and RPE 9 this week is not progress, even though the numbers match.
Apply the two-for-two rule. If you hit the top of your rep range on two consecutive sessions with clean form and RPE 8 or lower, add the smallest available increment next time (often 2.5 kg for upper-body lifts, 5 kg for lower-body lifts).
Hold when form notes show breakdowns. If your video notes flag knees caving or a rounded back, repeat the same weight until the notes come back clean. Adding load on top of a breakdown is how stalls and injuries happen.
Deload when RPE creeps up without weight changes. If the same weight feels two RPE points harder for two weeks, take a lighter week before pushing again.
A common pattern is to log too much and review too little. Set a recurring 10-minute review every two weeks: open your log, scan for lifts where weight went up while form notes stayed clean (progress), and lifts where weight went up but notes show breakdowns (pull back).
Workout Log Template for Weightlifting
Copy this into a notes app or spreadsheet:
Date: Exercise: Working weight: Sets x reps: Rest between sets: RPE / RIR: Video file name: Form notes (what you saw on video): What to fix next session: Decision for next session (add weight / add rep / hold / deload):
Fill it in after each session. Within a month, the pattern in your notes will show you exactly when to push and when to hold back.
Pro Tip If you film and log the same lift, name the video file with the date and exercise (for example, `2026-10-29-squat-top-set`) so you can find it in your log later without scrolling through your camera roll.
Booking Your Next Session With a Setup That Works for You
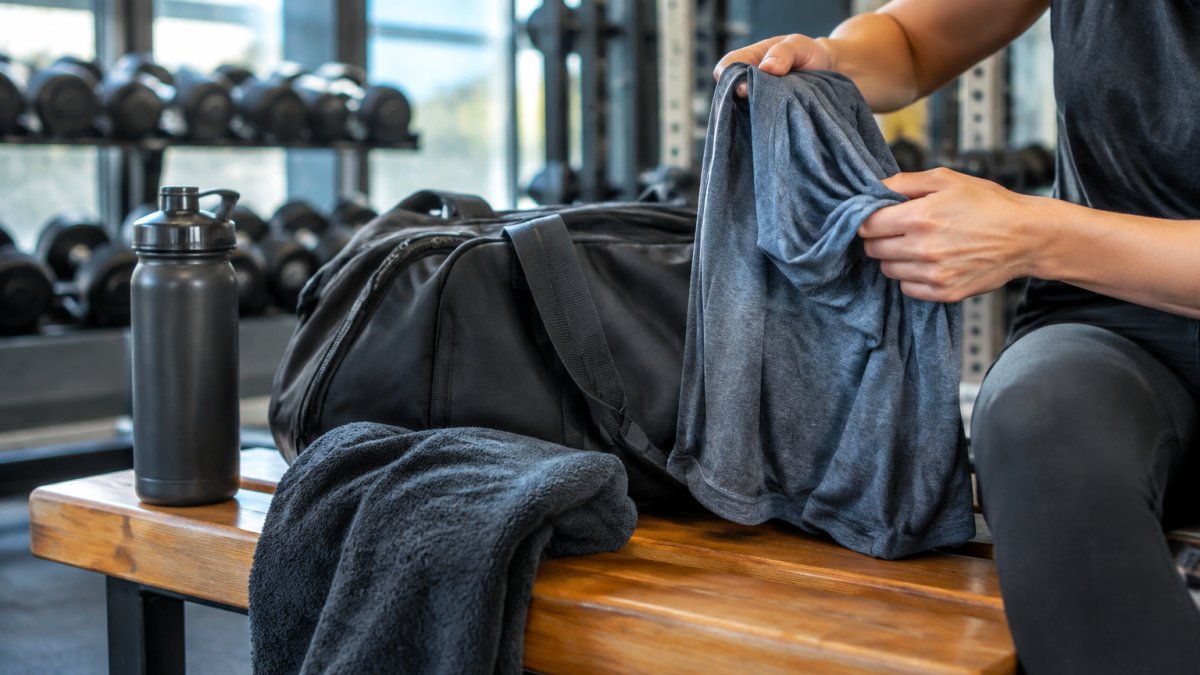
Once your phone mount is sorted, the rest of your kit should keep up. The Snap Training Bag keeps personal items off the gym floor, and the SnapFlask features a built-in mounting angle for recording lifts.
Start with the setup that fits how you train, then build from there. Visit the HYPE Fit Gear website for current pricing and bundle options. Get the gear and start recording your next session.
Frequently Asked Questions
How do you record your lifts at the gym by yourself?
Set your phone on a stable tripod or clamp mount about 2 to 3 metres from the bar, at roughly a three-quarter angle, and start recording before you approach the bar. Use the rear camera at 1080p or 4K and 30 fps for clear detail. Check the framing with a test clip before your first working set, then trim the best reps afterward for a form review. Keeping the setup simple and consistent makes your footage easier to compare across sessions.
Where should you place your phone when filming a lift?
Place the phone at hip or chest height, about 2 to 3 metres away, so the full bar path and your body stay in frame from start to finish. Avoid placing it directly in front of the bar where it could be hit, and avoid positions that show only your torso. Lighting matters too: face the phone toward the light source or use the gym's overhead lights, and avoid backlighting that darkens the lift.
What angle should you film a squat or deadlift from?
A three-quarter angle works best for most lifts. It shows depth in a squat and the bar path in a deadlift without hiding either. Film a squat from the side to check depth and back position, and a deadlift from a three-quarter view to see hip position and bar travel. Filming straight from the front or directly behind usually hides the details you need for a useful form check.
How do you record a workout without disturbing other people?
Choose a quiet time of day when the gym is less crowded, and set up before others need the rack. Keep the phone and tripod out of walkways and away from other lifters' equipment. Ask before filming anyone else, and do not record people who have not agreed to it. Keep recordings to your own lifts, and delete or avoid any footage that captures other members.
Comments